Hello world. I am never sure what to say when I start a new blog post on a new website. You may be here because you follow my Tumblr. However, I decided that I need a little more than microblogging for homeownership and marriage adventures!!!
That’s what I call this space. My adventure space/place. I am constantly reading home design blogs (such as YHL, Bower Power, Apartment Therapy, Centsational Girl, etc….) Up until recently, I hadn’t really gone on an adventurous “design” endeavor. Until we needed a new chest of drawers and night stands. Man… those were a BEAST. I will post something about it once I get some good pictures.
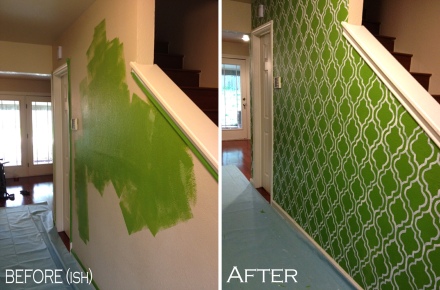
This post, however, is about the green stencil wall. Some of you may have seen the new House Beautiful “green” issue. I just received my first in the mail after I got a Groupon for HB. Five bucks for a year?! Yes, please!
Anyways, last week I had off for Spring Break. What a perfect time to spruce up our entryway! I was constantly searching for SOMETHING or SOME KIND of inspiration or pintsperation. So I decided to go for it. I wanted our entry to make a statement but be warm and inviting. I had pictures on the wall but they were just getting lost in the sea of wall-ness going on. Not sure how to explain it but it really needed some UMPH. After reading my new HB issue, I was inspired to go green. But I didn’t want to be a kelly or kermit. Also, I didn’t want an understated light green. That wouldn’t serve much purpose. Once I had my head/heart set on green I figured it’s just paint – if I don’t like it it’s not that big of deal. Once I decided on green and after reading this tutorial several times over from Jones Design Company – I went in for the kill. She has a GREAT tutorial for doing this stencil. So I am not going to even try and one up her tutorial. However, I do have a couple tips if you do decide to do this.
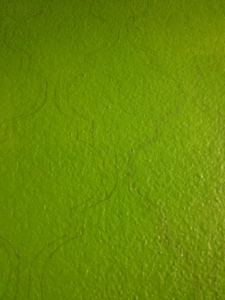
1) Don’t worry about making it perfect – especially in the pencil tracing stage. It will all look better once you start painting. Just keep going. Or swimming, if you’re a Nemo fan like I am.
2) Take a step back from time to time (especially when you start painting the stencil)- I started to get super nitpicky about things being “just right.” But it was so much better when I stepped back. Everything is so more imperfect when your nose is to the wall and you’re tracing. Trust the process. In the end, it’s worth it!
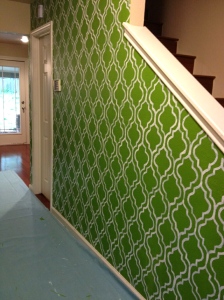
So here are my pics. Before, during, and after. I am hoping to use Goodwill frames that I spray painted in the hopes of a gallery wall. I’m just excited to start playing with it.
Finding the right color green was probably one of the most challenging. I finally went with Olympic Antique Moss. The white paint is actually a green tinted paint. I can’t remember the name because I had to change it a million times when I was at Lowe’s. The computer wouldn’t let the paint guy do a sample of some of the lighter colors. But really, any white or lighter color would work. It took about 12 hours (rough estimate) to complete.
I forgot to do a before picture. (Silly me). You get the idea though. Enjoy!


